Can You Cook Frozen Chicken In Instant Pot? Safe Methods
Yes, but only under specific rules. Can you cook frozen chicken in an Instant Pot? You must ensure the pieces are separated rather than frozen into one solid block.
When it’s yes and when it’s no
Your cooker handles some frozen cuts easily, but other cuts fail to cook safely.
| Your situation | Answer | Why |
|---|---|---|
| Separated boneless breasts | Yes | Steam reaches every surface quickly |
| Separated bone-in thighs | Yes | Heat penetrates single pieces evenly |
| Frozen solid block of breasts | No | Center stays raw too long |
| Whole frozen chicken | No | Cavity stays cold and undercooked |
| Frozen diced chicken pieces | Yes | Small size cooks through fast |
| Frozen pre-cooked chicken strips | Yes | Only needs heating to safe temperature |
Meat thickness and heat transfer
Meat thickness controls whether pressure cooking frozen poultry succeeds or fails. A pressure cooker works by trapping steam, which raises the boiling point of water and forces heat deep into food. When chicken breasts freeze together into a thick clump, that steam can’t get between the individual pieces. The outer layer of meat cooks completely while the inside stays frozen or undercooked. The safe target is verified by FoodSafety.gov’s safe minimum internal temperatures, which require poultry to reach 165°F.
Cooking time also depends on the liquid in your inner pot. A standard 6-quart Instant Pot requires 1 cup of thin liquid to build pressure, while an 8-quart model needs 1.5 to 2 cups; check your user manual to confirm your pot’s requirement. If you use thick barbecue sauce instead of water or broth, the pot will display a burn warning and fail to seal. Using frozen meat brings a trade-off: you skip thawing time, but the chicken releases extra water that dilutes your sauce. If the poultry pieces are fully separated, cook them under high pressure; if they’re frozen into one solid mass, thaw them before cooking.
Cooking frozen poultry correctly
These numbered steps ensure your poultry cooks safely without drying out.
- Add the required cooking liquid to the inner pot, using 1 cup of water or broth for a 6-quart cooker. The liquid covers the bottom completely.
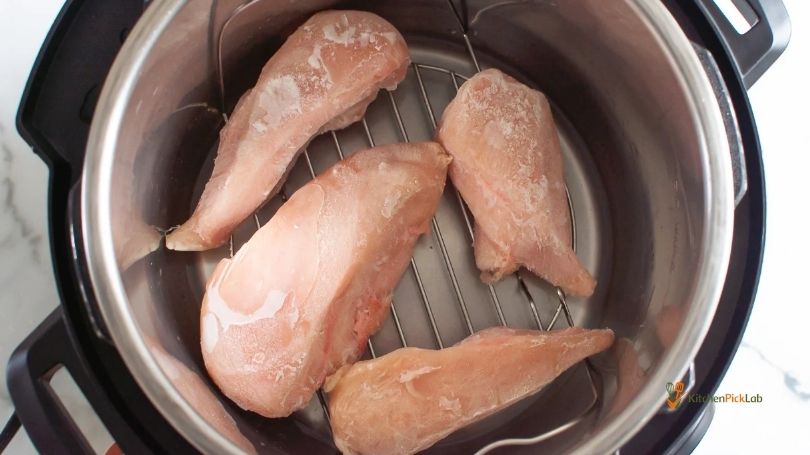
- Place the metal trivet inside the pot so the meat sits above the liquid base. The trivet rests flat on the bottom of the pot.
- Arrange the separated frozen pieces in a single layer on top of the trivet. Every piece has space around it and doesn’t stick to another.
- Close and seal the lid, turning the steam release valve to the sealing position. The lid locks with an audible chime.
- Set the cooker to high pressure for 12 minutes for thin breasts or 15 minutes for thick pieces. The display shows the timer counting down once pressure builds.
- Allow a natural pressure release for 10 minutes before venting the remaining steam. The floating valve drops down flush with the lid.
- Verify the internal temperature with a meat thermometer placed in the thickest part of the largest piece. The thermometer reads at least 165°F.
Forgetting to separate the pieces
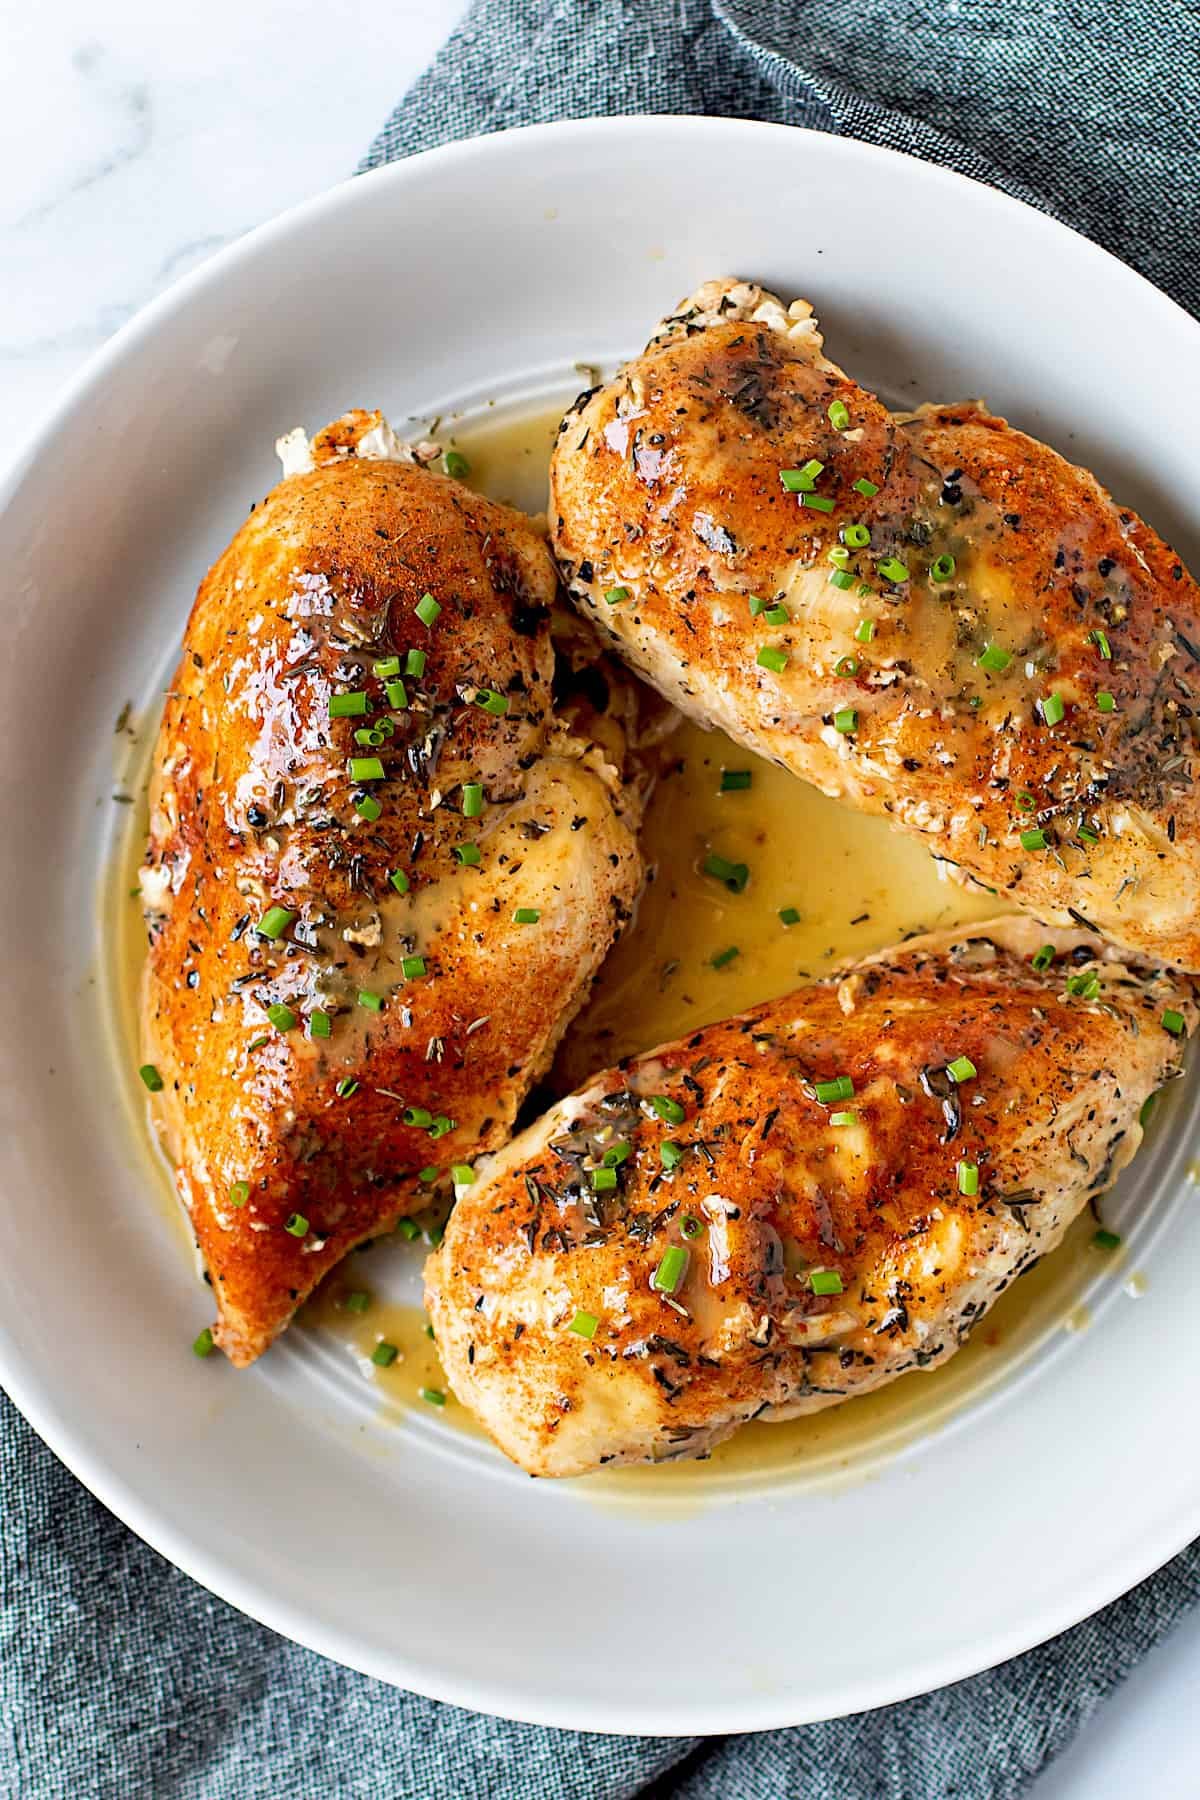
Freezing poultry together in one solid clump is the most common error. When four or five breasts freeze into a single block, heat can’t reach the center during the standard cooking cycle. This mistake costs you extra dinner time because you must cut the cold block open and restart the pressure cycle, which dries out the exterior meat. You can avoid this problem entirely by running cold tap water over the clump for two minutes to pry the pieces apart before they enter the pot.
When to stop and get help
- The internal temperature reads below 165°F after a full cycle, meaning the meat needs more high-pressure time immediately.
- The cooker displays a burn error repeatedly, which stops the cooking process and leaves raw meat sitting at room temperature.
- The floating pin drops but the lid remains jammed, which indicates trapped steam pressure that requires appliance service.
This process stops being safe when the inner pot fails to pressurize at all; if your cooker never seals, contact the appliance manufacturer for technical support.
Frequently asked questions
Can you cook frozen chicken in Instant Pot without a trivet?
Yes, you can place frozen chicken directly into the cooking liquid. The meat boils instead of steaming, which changes its texture, but it still cooks through. Make sure the liquid covers the base of the pot so you don’t trigger a burn warning during the cooking cycle.
Why is my frozen chicken rubbery after pressure cooking?
Quickly releasing the steam pressure too fast makes poultry meat seize up and turn tough. Letting the pot release pressure naturally for 10 minutes keeps the juices inside the meat fibers. Cooking the meat past 165°F for too long also dries it out and creates a rubbery bite.
How long does frozen chicken breast take to cook?
About 12 to 15 minutes at high pressure cooks standard separated frozen breasts in a 6-quart pot. Larger breasts over 8 ounces need 18 minutes. The pot also needs about 12 minutes to build pressure before the actual cooking countdown begins because the frozen meat cools the liquid.
Is it safe to cook a whole frozen chicken?
No, you should never cook a whole frozen bird in a pressure cooker. The dense inner cavity stays cold while the outer breast meat overcooks, leaving harmful bacteria alive near the center bones. Thaw the whole bird completely in your refrigerator before placing it into your Instant Pot.
What happens if the chicken is still pink inside?
Close the lid, seal the valve, and cook the meat on high pressure for another 3 to 5 minutes. Pink poultry means the meat didn’t reach the required safe internal temperature of 165°F. Always check the thickest section with an accurate food thermometer before serving your meal.
Does frozen chicken need more liquid in the pot?
No, frozen poultry releases extra water as it thaws under pressure inside the cooker. You only need the baseline amount of water required to build steam, which is 1 cup for 6-quart models. Adding extra liquid waters down your seasoning and leaves your final sauce thin and flavorless.
What to do next
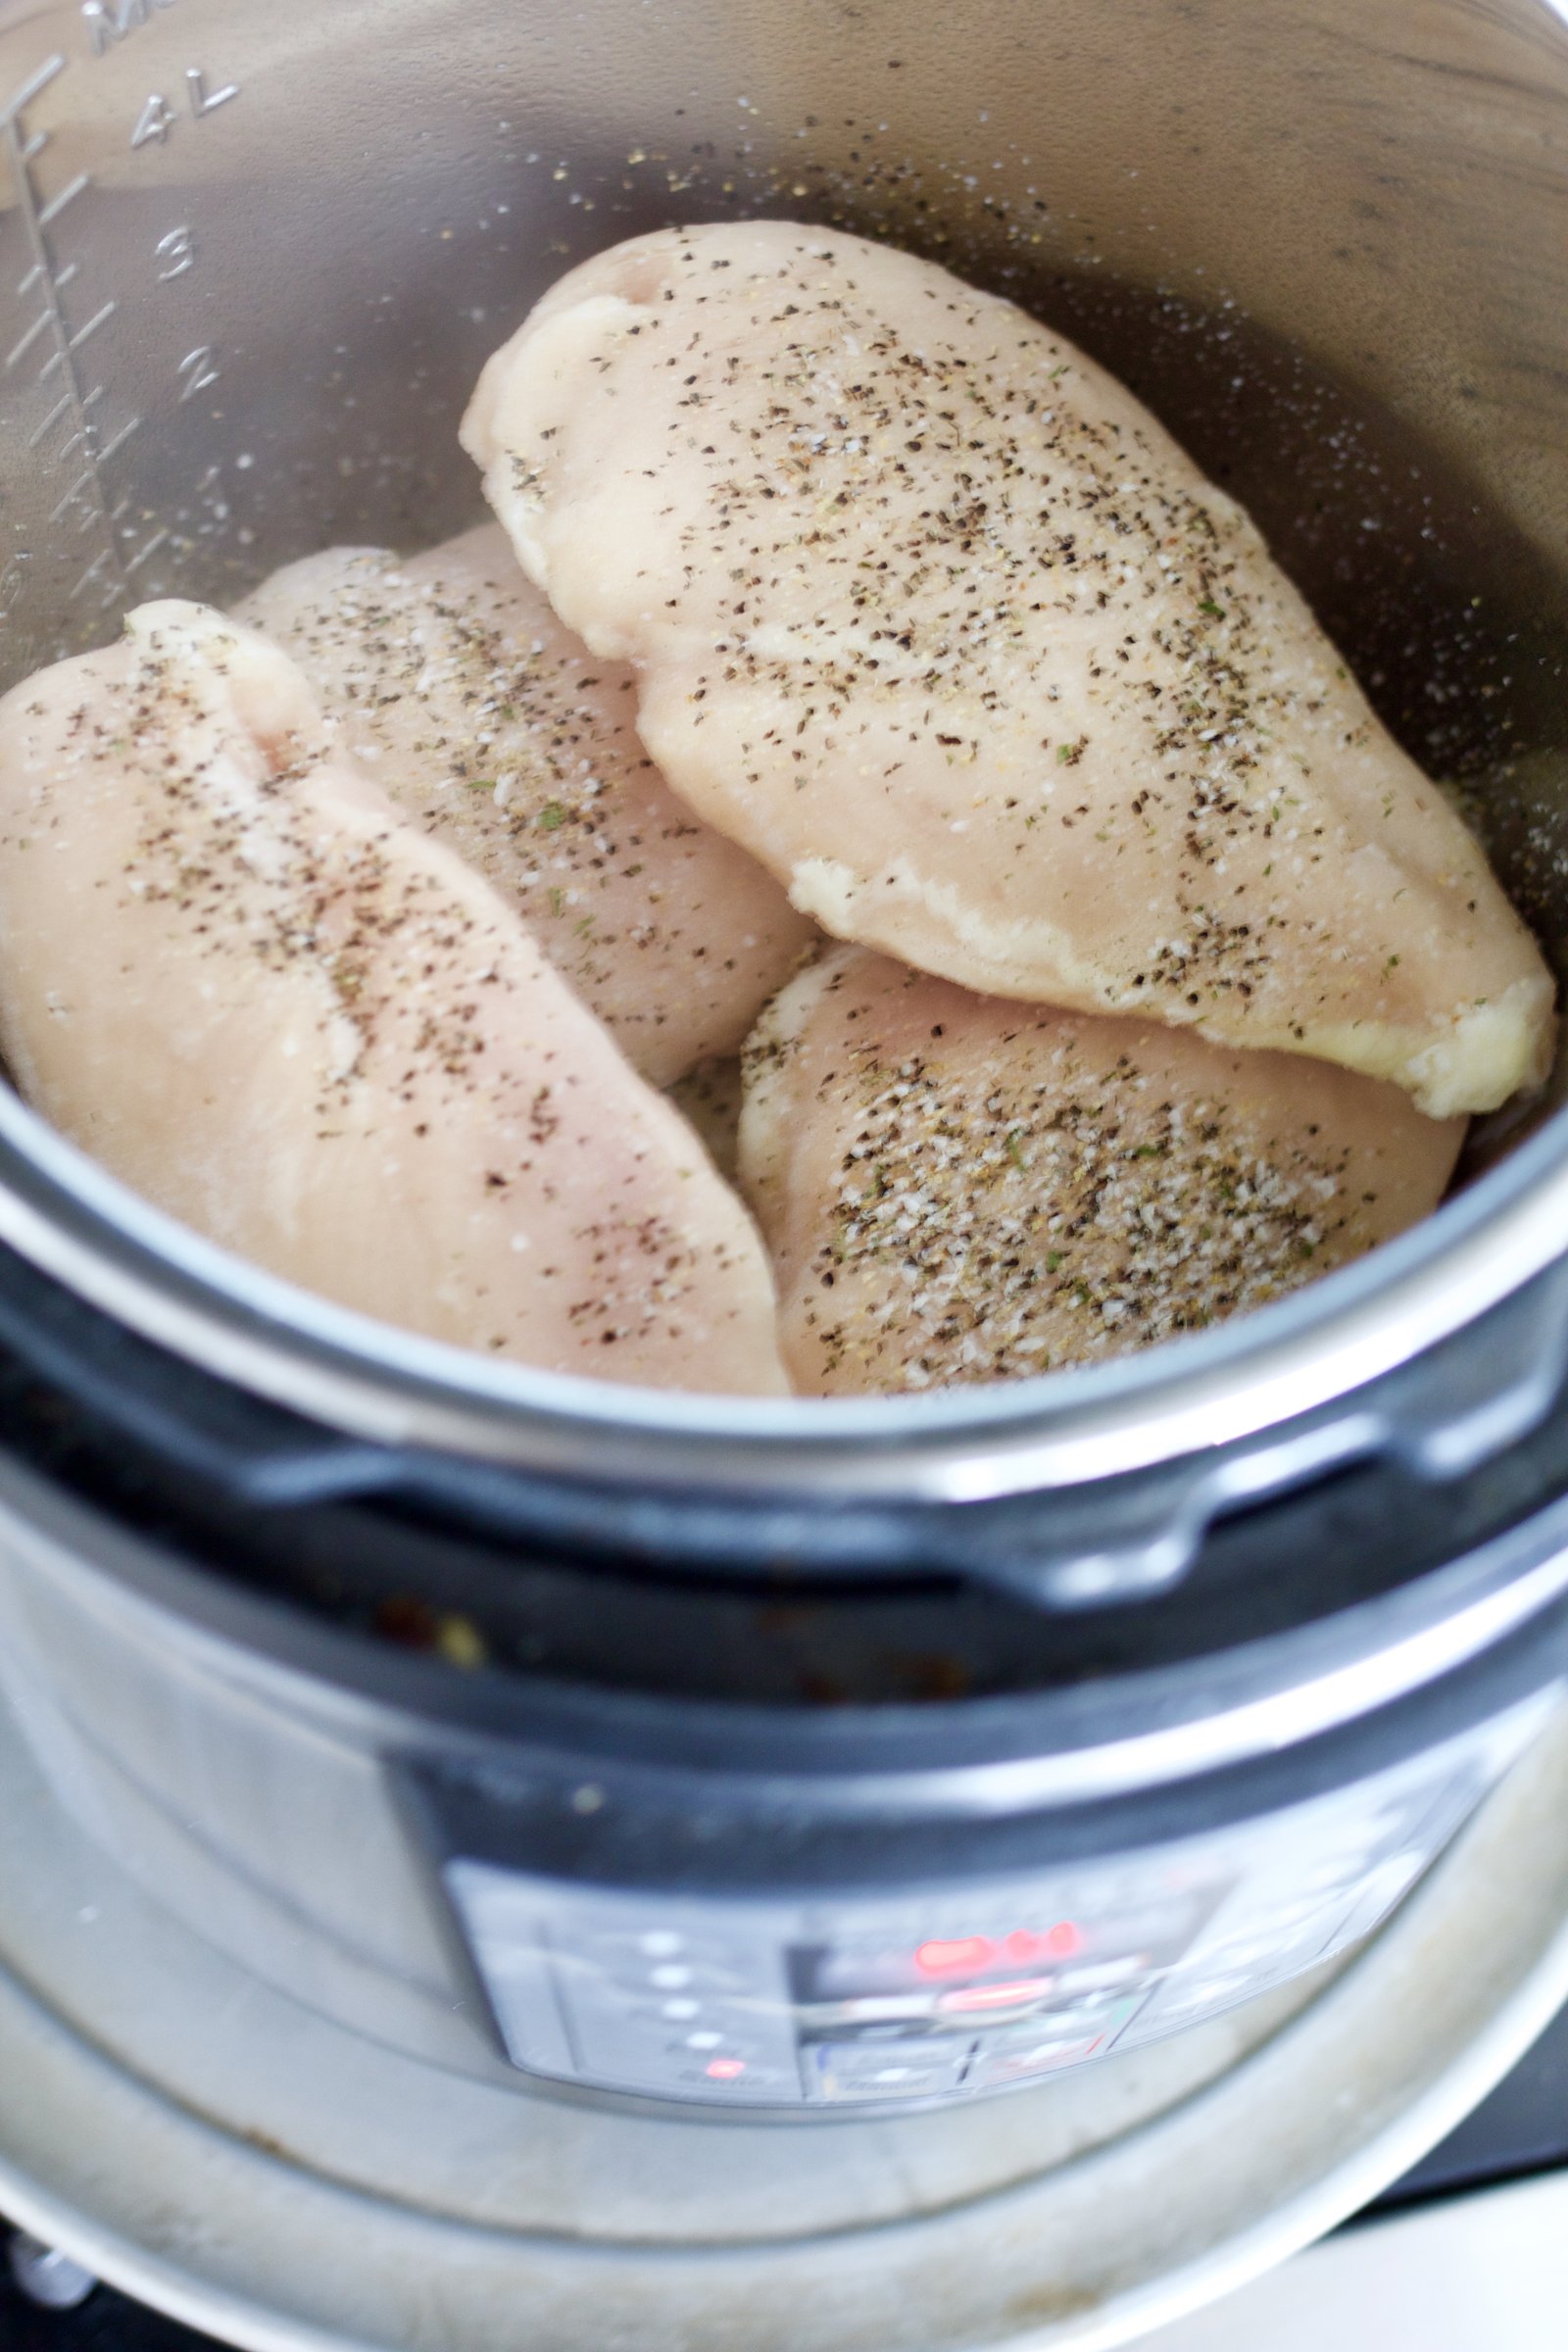
Expect the meat to finish tender and reach 165°F on a food thermometer after a 10-minute natural release. If the cooker lid shows a mechanical fault and refuses to seal, stop immediately and seek repair support.
Final Thoughts
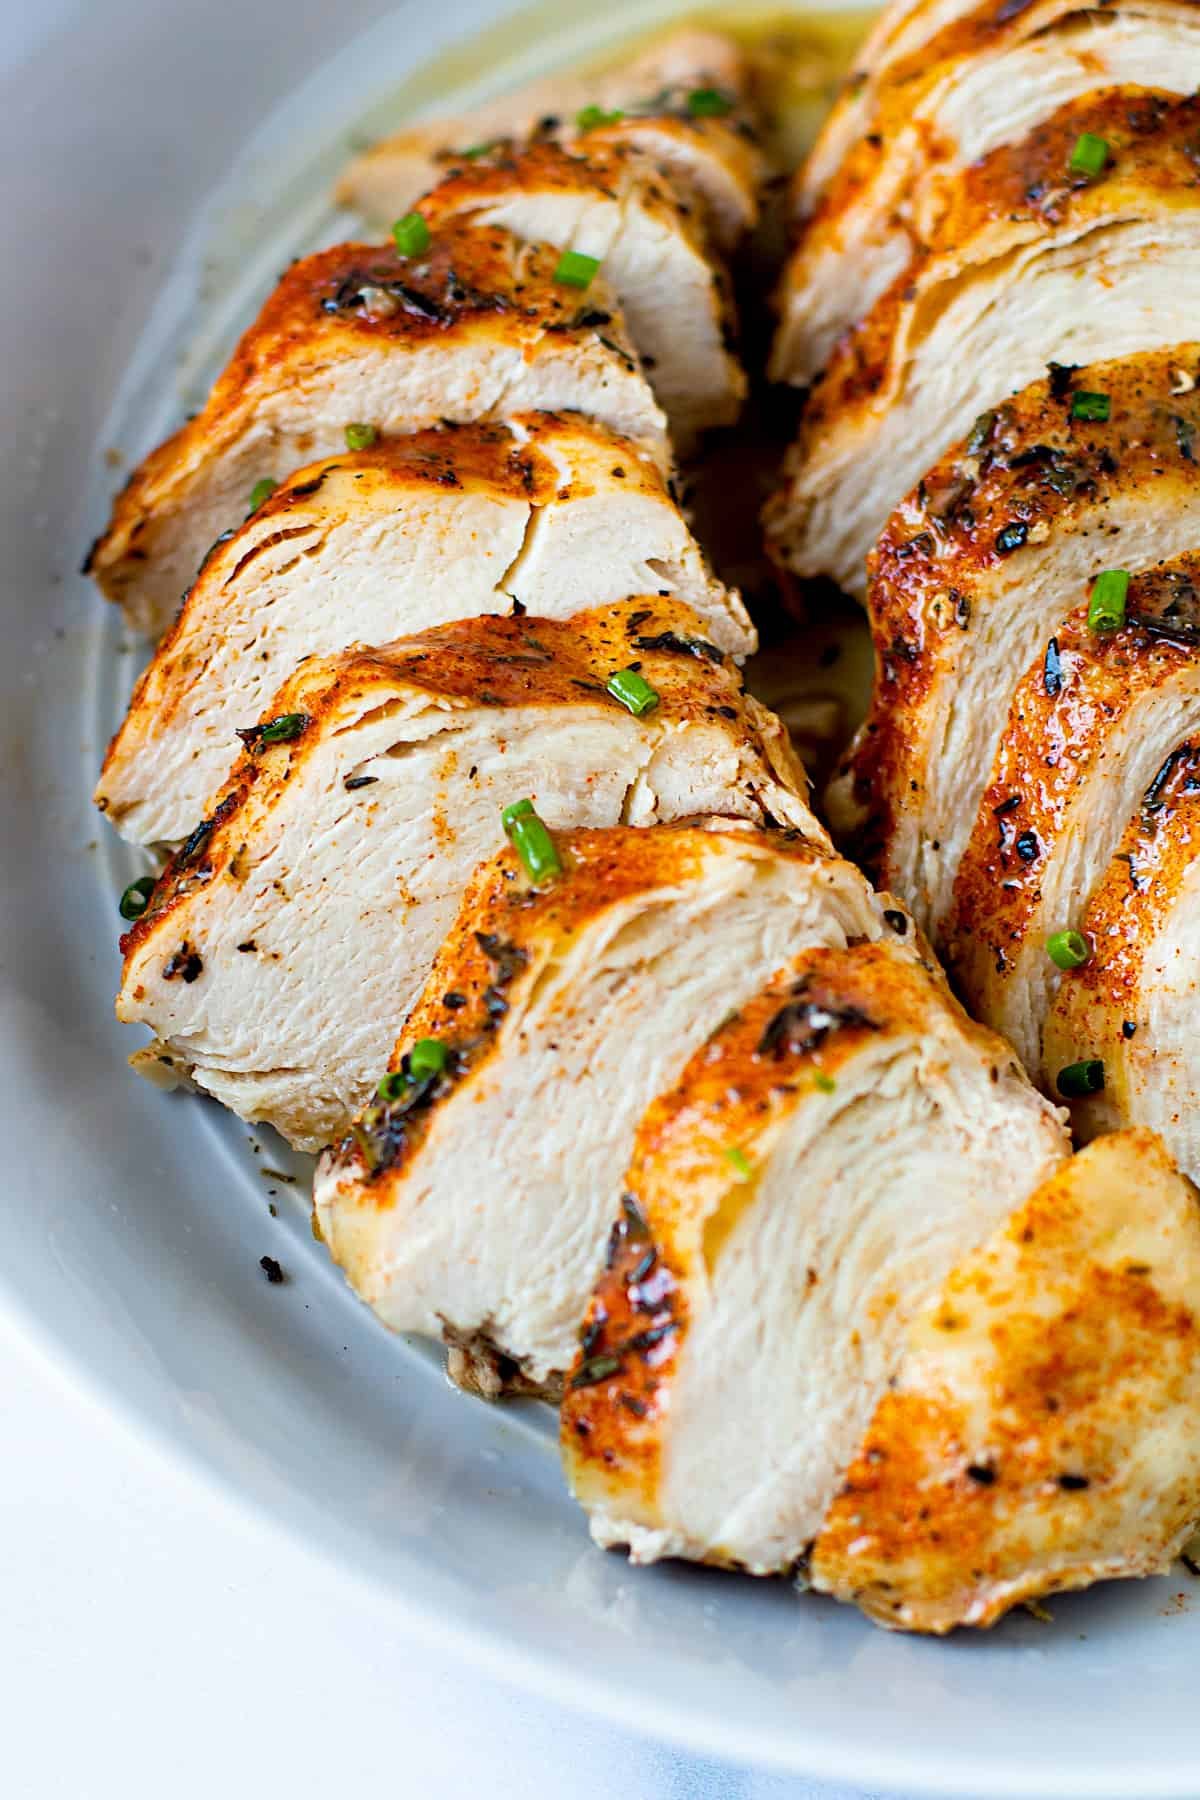
When you’re ready to start, just remember to keep a meat thermometer handy to check for doneness. It’s the safest way to ensure your poultry isn’t just cooked through, but perfectly juicy every time. You’ll be surprised how much time this simple method saves you on those busy weeknights when dinner plans change.