Can Ninja Blender Go In Dishwasher? The Safe Cleaning Guide
Last Updated on October 9, 2026
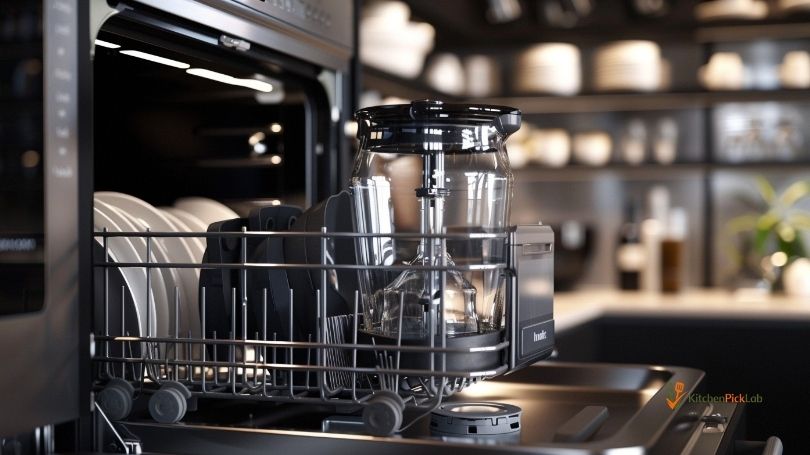
Yes, but only certain parts. You can put the cups, pitchers, lids, and removable blade assemblies on the top rack, but the motorized base must never enter water. Ninja blender parts aren’t dishwasher safe if you put them on the bottom rack near the heating element.
When it’s yes and when it’s no
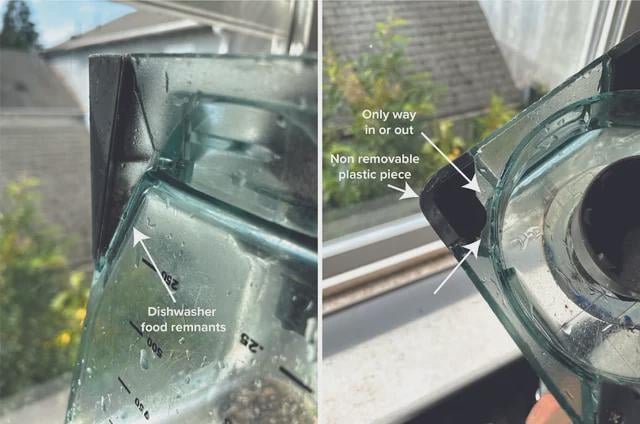
Check the placement of each part before starting your machine.
| Your situation | Answer | Why |
|---|---|---|
| Plastic pitcher on top rack | Yes | Top rack stays away from the heating coil |
| Any part on bottom rack | No | High heat warps plastic and ruins watertight seals |
| Motor base unit | No | Electric motor shorts out and creates shock hazards |
| Single-serve Nutri Ninja cup | Yes | Durable plastic handles regular top-rack wash cycles |
| Removable blade assembly | Yes | Top rack washes food off sharp edges safely |
| Pitcher lid with locking handle | Yes | Top rack cleans internal crevices without melting latches |
| Heated sanitizing cycle selected | No | Temperatures above 140°F warp clear blender jars |
What heat does to blender plastics
The dishwasher heating element determines if your parts survive. Modern dishwashers use exposed coils or internal chambers to heat water. During drying, coils reach over 150°F to bake moisture off dishes.
Ninja pitchers and cups use BPA-free polymers. These plastics withstand warm water, but direct radiant heat softens the material. When a pitcher softens, the locking tabs warp. The container will no longer twist into the base, rendering the blender unusable. Heat also damages rubber gaskets inside blade assemblies and lids. Once that ring shrinks, liquid leaks into the motor gears.
Repeated heat cycles make clear plastic cloudy over time. This wear varies by model — check the label on your specific jar to verify its temperature rating.
How to load the machine safely
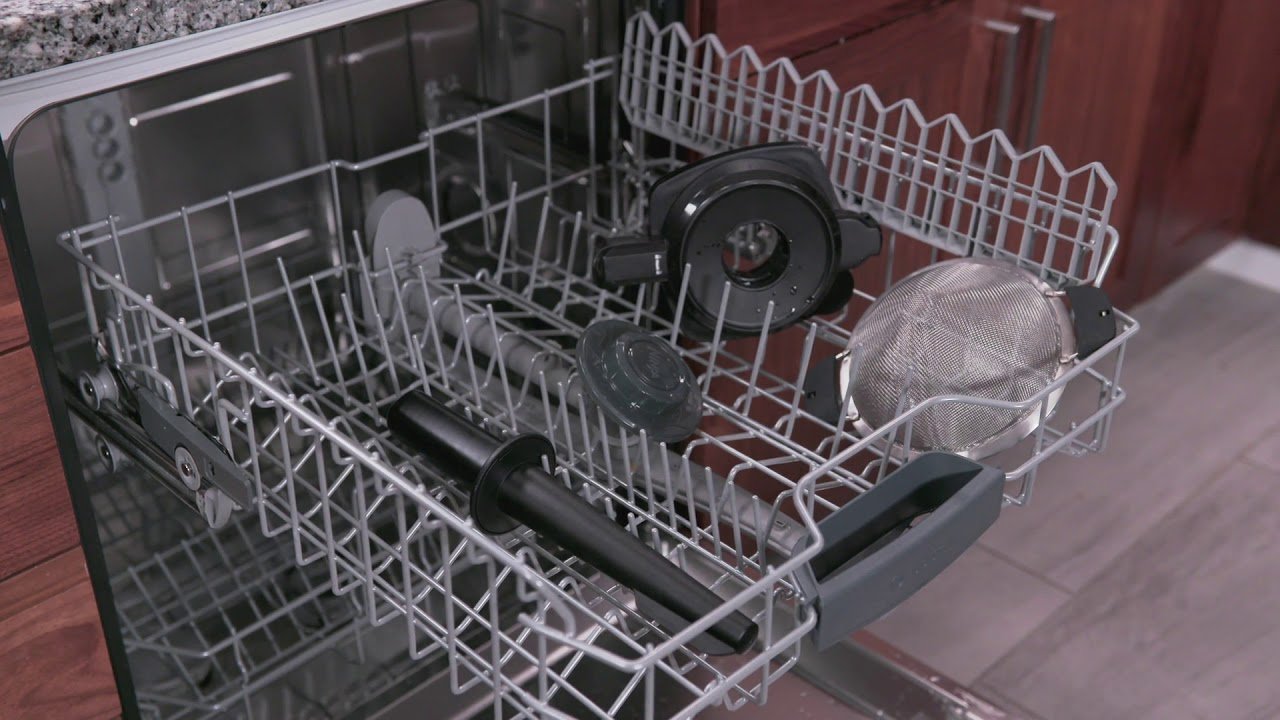
Follow these steps to clean removable parts without melting plastic or dulling metal.
- Unplug and wipe the base. Disconnect the power cord from the wall outlet and clean the exterior using a damp microfiber cloth, which leaves the housing dry and free of sticky residue.
- Disassemble every removable piece. Separate the blade assembly, lid, and rubber gasket from the pitcher, confirming all pieces are separate so water reaches hidden food traps.
- Place containers upside down on the top rack. Fit the tall pitcher or personal cups between the top tines with the open side facing down, ensuring the container doesn’t touch the spinning spray arm.
- Secure blades and lids in the upper basket. Place the blade assembly upright on the top rack away from other utensils, which keeps the cutting edges from chipping or dulling against metal spoons.
- Select a normal wash cycle. Turn off the high-heat sanitizing setting and disable heated dry, checking that the cycle runs on standard wash settings to protect the rubber seals.
The bottom rack mistake
The single biggest mistake people make is forcing tall 72-ounce pitchers onto the bottom rack because they don’t fit up top. A bottom-rack wash places the base of the pitcher just inches away from the drying element. That intense heat warps the locking ring on the bottom of the container.
When to stop and get help
Some blender problems should never be handled with a cleaning cycle or home tools:
- Water gets inside the motor base: unplug it immediately because moisture inside the housing creates a lethal electric shock hazard.
- The drive gear slips or strips: stop blending because worn gears ruin the motor shaft.
- The blade shaft leaks black grease into the jar: replace the blade assembly because worn bearings contaminate your food.
Mains-powered equipment carries serious risks. Take the unit to an authorized appliance repair technician or contact the manufacturer for replacement options under your warranty.
Frequently asked questions
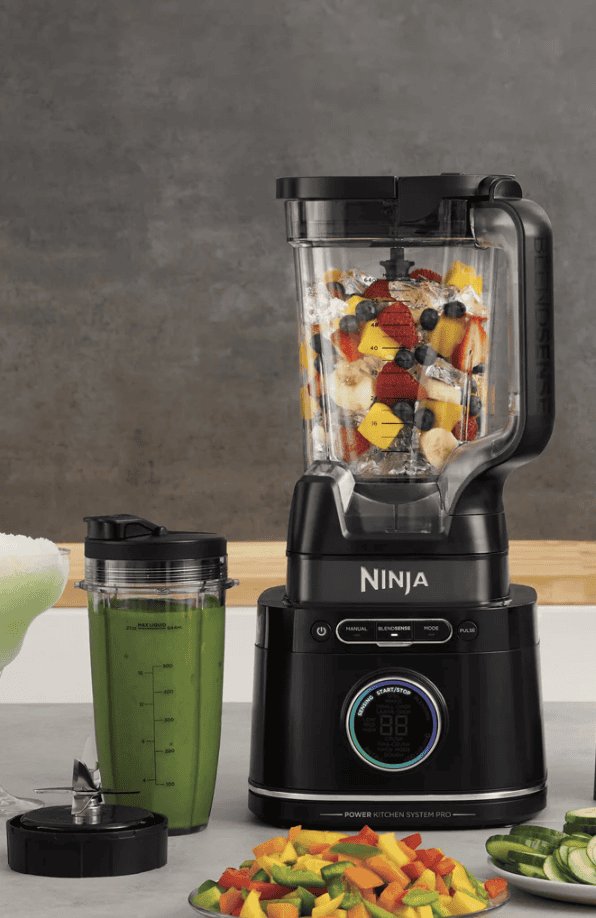
Can Ninja blender cups go in the bottom rack?
No, the bottom rack sits too close to the electric heating element. The intense dry heat bends the plastic threading on the cups. Once those threads warp, the blade base won’t screw on tightly, causing liquids to leak all over your counter during use.
Why did my Ninja blender pitcher get cloudy in the dishwasher?
Hard water minerals and aggressive dry cycles cause cloudiness. The hot water bakes mineral scale into the micro-scratches on the plastic surface. To clear minor buildup, soak the pitcher in a mixture of warm water and white vinegar for 15 minutes before rinsing it clean.
How long does a normal cleaning cycle take?
About 60 to 90 minutes on a normal cycle. You don’t need extended heavy-duty cycles for blender parts. Running standard cycles without high-heat dry settings protects the rubber seals from premature cracking while cleaning out stubborn smoothie residue completely.
Is it safe to wash the Ninja blade assembly in the dishwasher?
Yes, but only on the top rack. High-pressure water cleans out stuck ingredients under the blades without putting your fingers near sharp edges. Check that the blade unit sits firmly between rack tines so it can’t bounce against ceramic dishes and lose its sharpness.
What happens if the motor base gets wet?
The internal electrical circuits short-circuit, which ruins the motor and creates a fire hazard.
Does the rubber gasket need to come off every wash?
No, removing the gasket every cycle stretches out the elastic material. Remove the gasket periodically to wash underneath it. If the seal looks cracked, stretched, or pinched, replace it immediately to prevent jar leaks.
Can you clean a Ninja blender with hot soapy water instead?
Yes, add two cups of warm water and one drop of liquid dish soap into the pitcher. Run the blender on low speed for 30 seconds, then rinse the jar under a tap. This self-cleaning method keeps the plastic clear and avoids dishwasher heat damage entirely.
What to do next
Place your disassembled cups and blades onto the top rack right now, keeping the heat settings low. Your parts should come out clean, clear, and ready to lock smoothly onto the motor base. If you notice melted plastic tabs or water leaking from the bottom of the blade assembly, stop running the machine and order a replacement container before your next recipe.